

I am trying to get into hard suit. To do this, I need armor! I happen to have access to the school metal shop, so I figured I can make some of my own stuff. I decided to get started on some lamellar to go on the bottom of my chest piece (which I will get proper pictures of and put up here at some point).
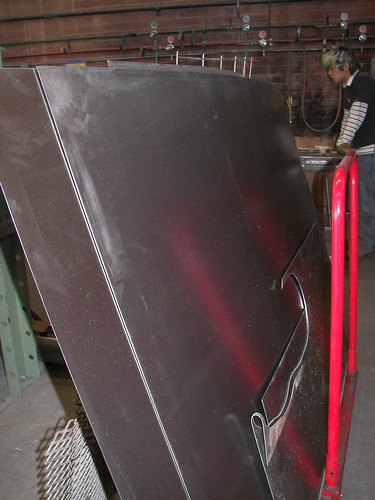
So first I started with a sheet of mild steel! Not one of these big ones, I think I used one half or one fourth of a sheet.
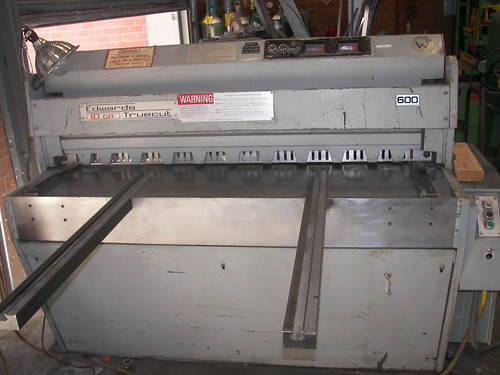
This is a shear machine. I love it, because I thought I would have to use the jigsaw to cut the lamellar pieces out, which would have been a pain. This made the project much easier and faster than it would have been otherwise. It makes long choppy cuts, across the entire width of whatever you put in (I think we only use steel or aluminum in the shop, so just those two metals). I was able to cut my big piece of steel into thin strips, and then cut those strips further until I had a bunch of rectangles.
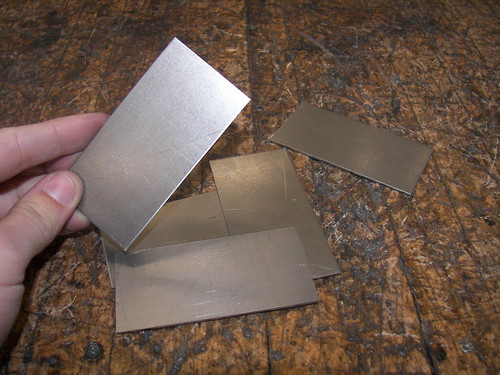
Here’s some of those rectangles. The corners are rather pointy, and the edges where the shear cut are very sharp. I ended up with two ‘paper cuts’ because of those edges, so be careful if you are going to do this. Or just wear gloves I guess :)
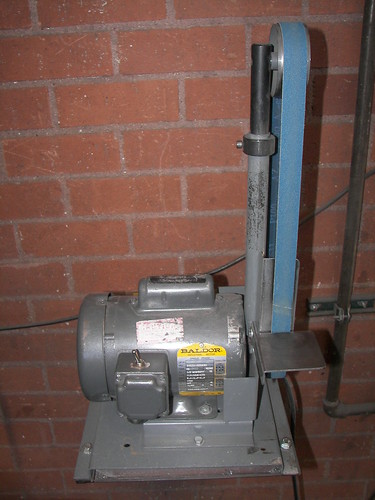
This is a belt sander. That blue thing on the right is the sandpapery belt part.
The machine is off for the sake of taking pictures safely, but imagine that it’s moving downward very quickly.
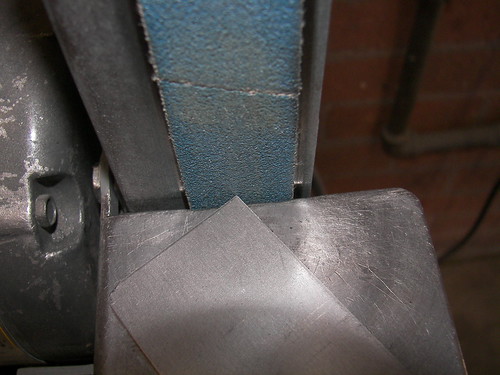
Taking the last corner off of this piece.
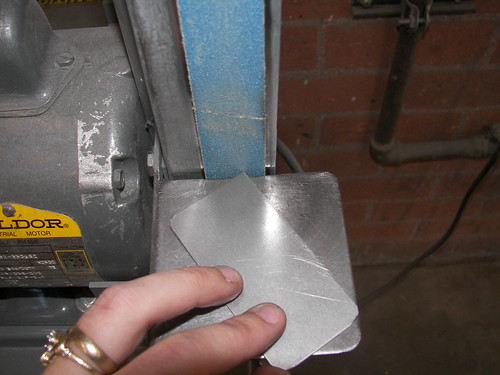
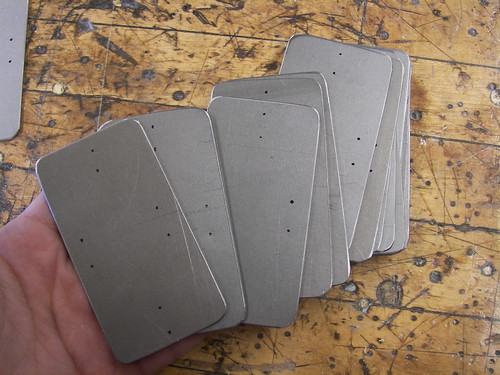
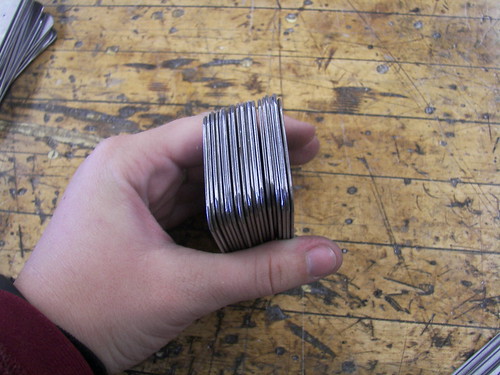
Now I have a pile of them, all with rounded off corners!

You can’t really see it, but those freshly sanded corners have sharp angry burrs on them, and the edges are still sharp.
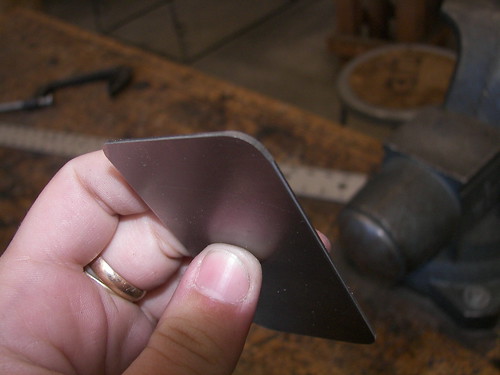
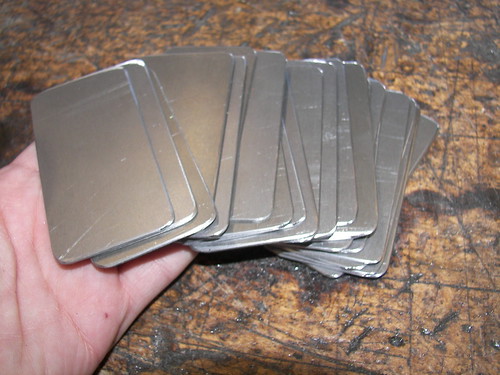
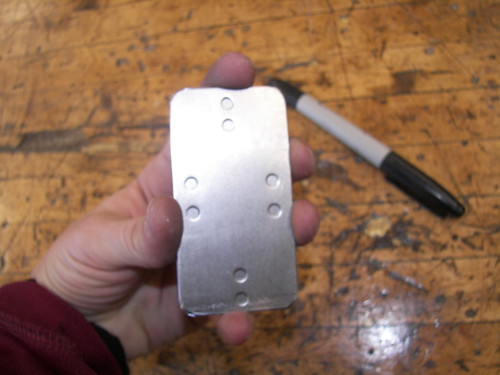
So I used the belt sander again, smoothing out the edge all the way around on both sides of all the plates. Now I have a pile of smooth plates that don’t bite my fingers when I pick them up :)
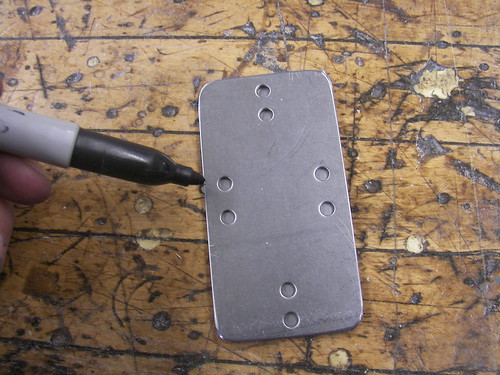
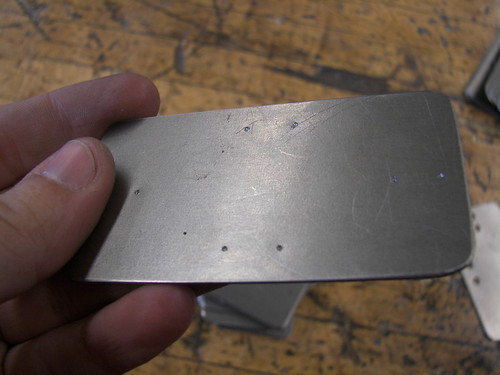
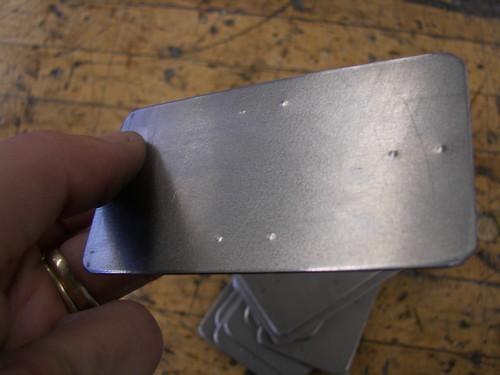
Here is a finished plate I already did and am using as a template for the others.
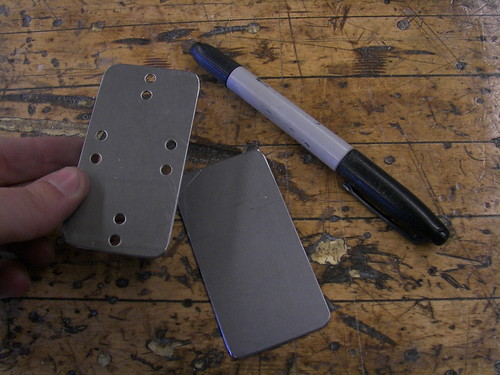
I lined up the unfinished plate under the template.
Then I marked in the center of each hole.
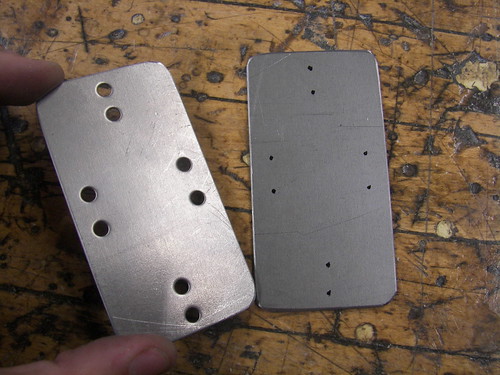
Then I have a bunch of marked plates!
Next, I punched over the marks using a metal awl. I didn’t grab a picture of it, but it’s a little spike thing that you can mark important spots with. Just one quick tap with the hammer for each hole.
You can see here that the awl makes a mark all the way to the back side, where it got pushed out.
This is the shop’s hole punch! I love it, also made my life easier, since I didn’t have to drill each of the holes like I thought.
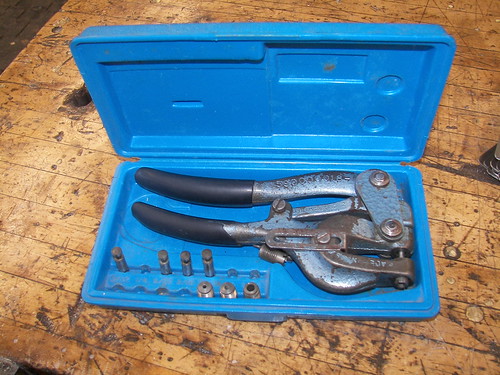
See the open space in the middle? That’s where the metal goes, and you put the little pointy bit you see at the top into the hole you made with the awl. You don’t have to use an awl, you can just mark it with sharpy and then locate where to punch visually, but I found that the awl made it go much faster, I didn’t really have to look super carefully to make sure the punch was where it was supposed to be.
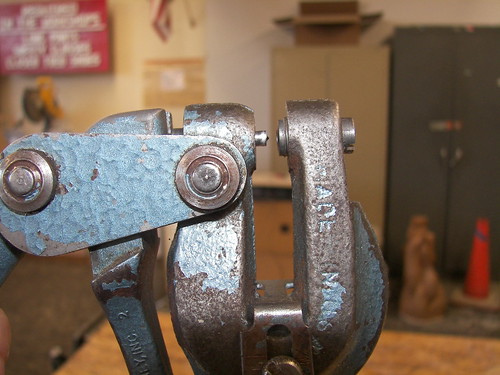
Punch!
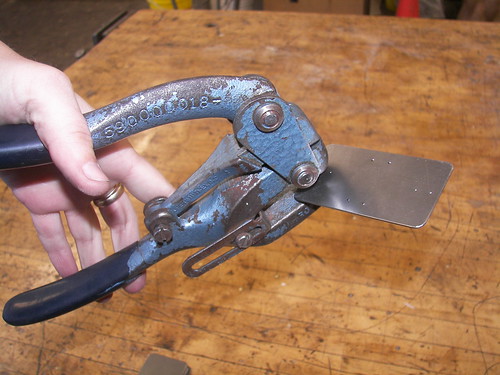
And then you have hole!
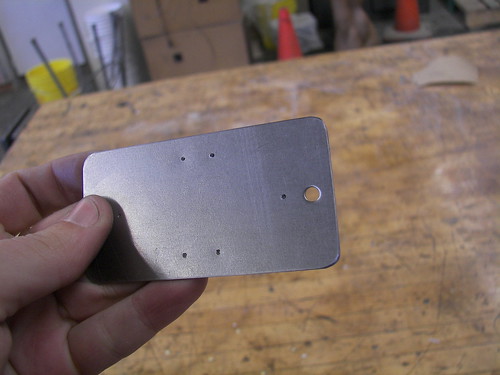
And then a bunch of holes!
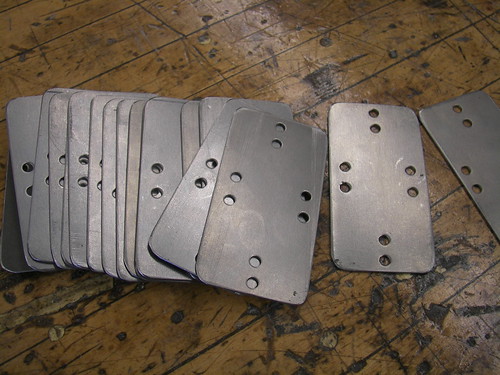
They are not 100% identical, but they are close enough to work I think.
Part two with them being put together is next.


